Cameras
The system is designed to conduct video surveillance of objects in real-time mode and provide detailed information about objects when working with historical data for specified periods.
Interface
The main page provides users with a list of video cameras.
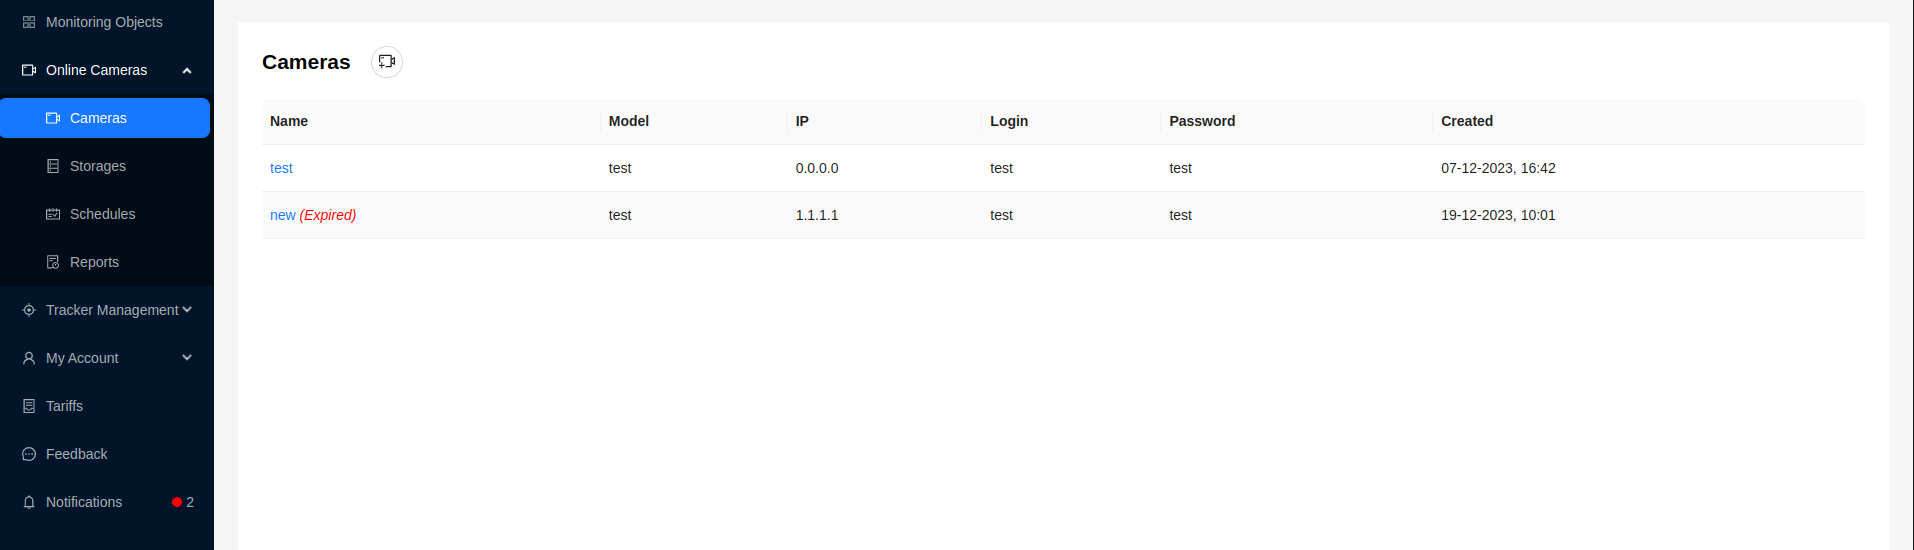
Here is the following information for each camera:
- Name
- Camera model
- IP address
- Login for camera connection
- Password for camera connection
- Camera creation date
If the paid time of the tariff for the video camera has expired, it is marked as Expired.

Detailed Camera Information
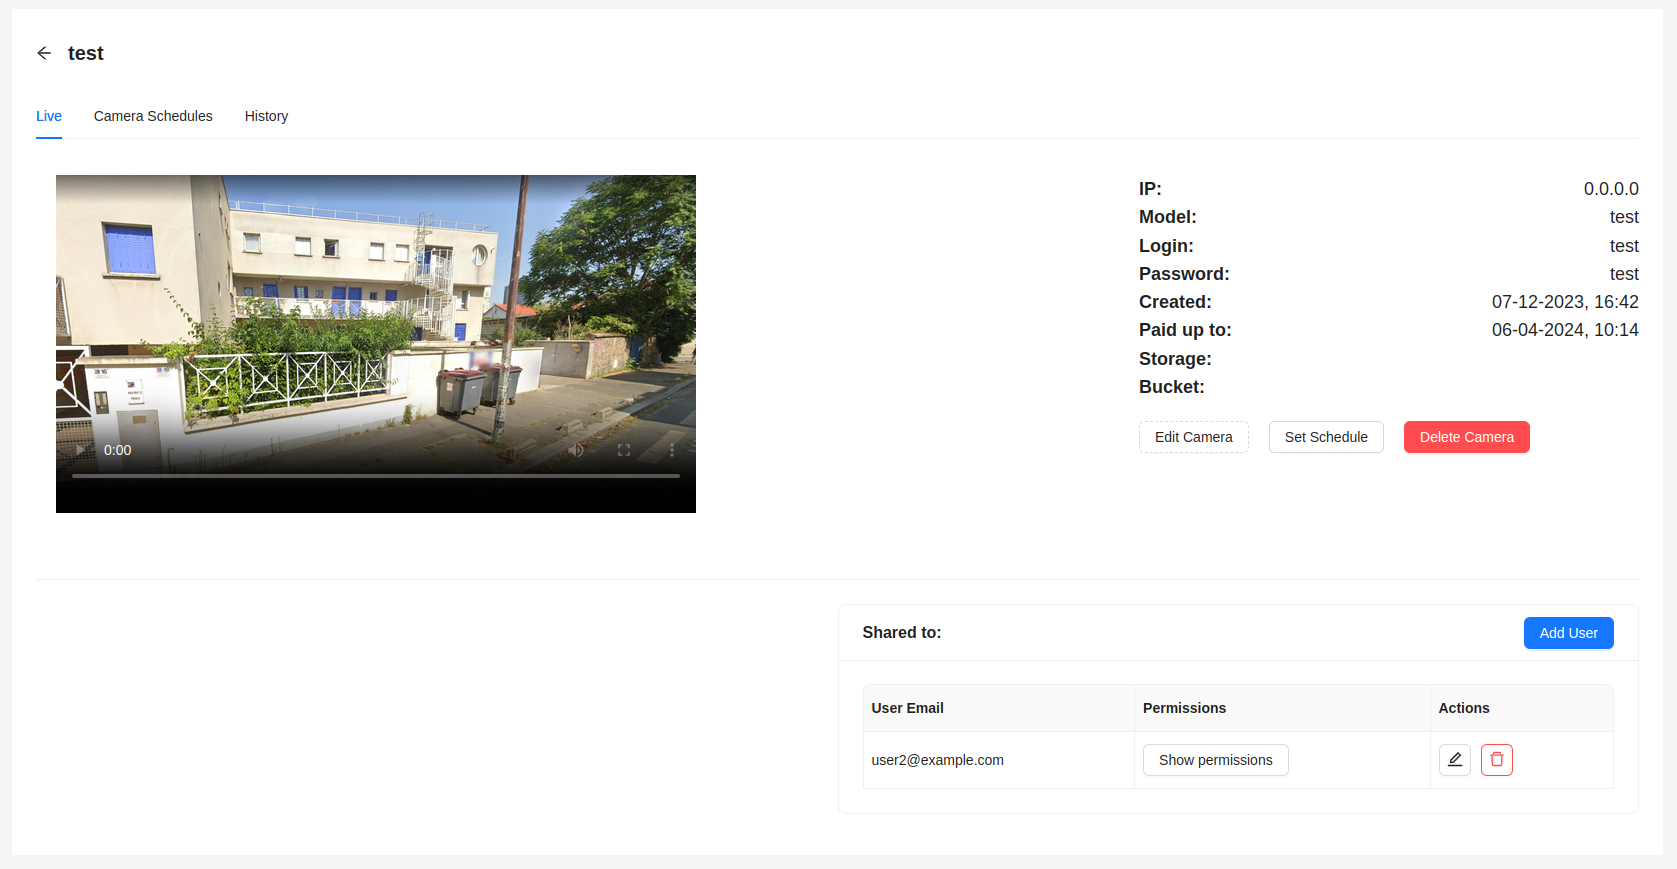
By clicking on the camera name in the general list, the user can go to the camera viewing page.
There are 3 tabs with different information:
- Online
- Camera Schedules
- History

Online
The tab provides a player for online viewing of the video stream from the camera. There is also a block with detailed camera information. The page contains functions for deleting the camera, editing, setting schedules as well as providing access to other users (sharing the camera).
Camera Schedules
The tab is intended for setting schedules for the camera, according to which it will operate, as well as for viewing them.
Schedules are provided in the form of cards, which depending on the status of the schedule can be green or red. A schedule can have one of two statuses - Active/Inactive.
In the active status, the schedule is used by the camera at the current moment.
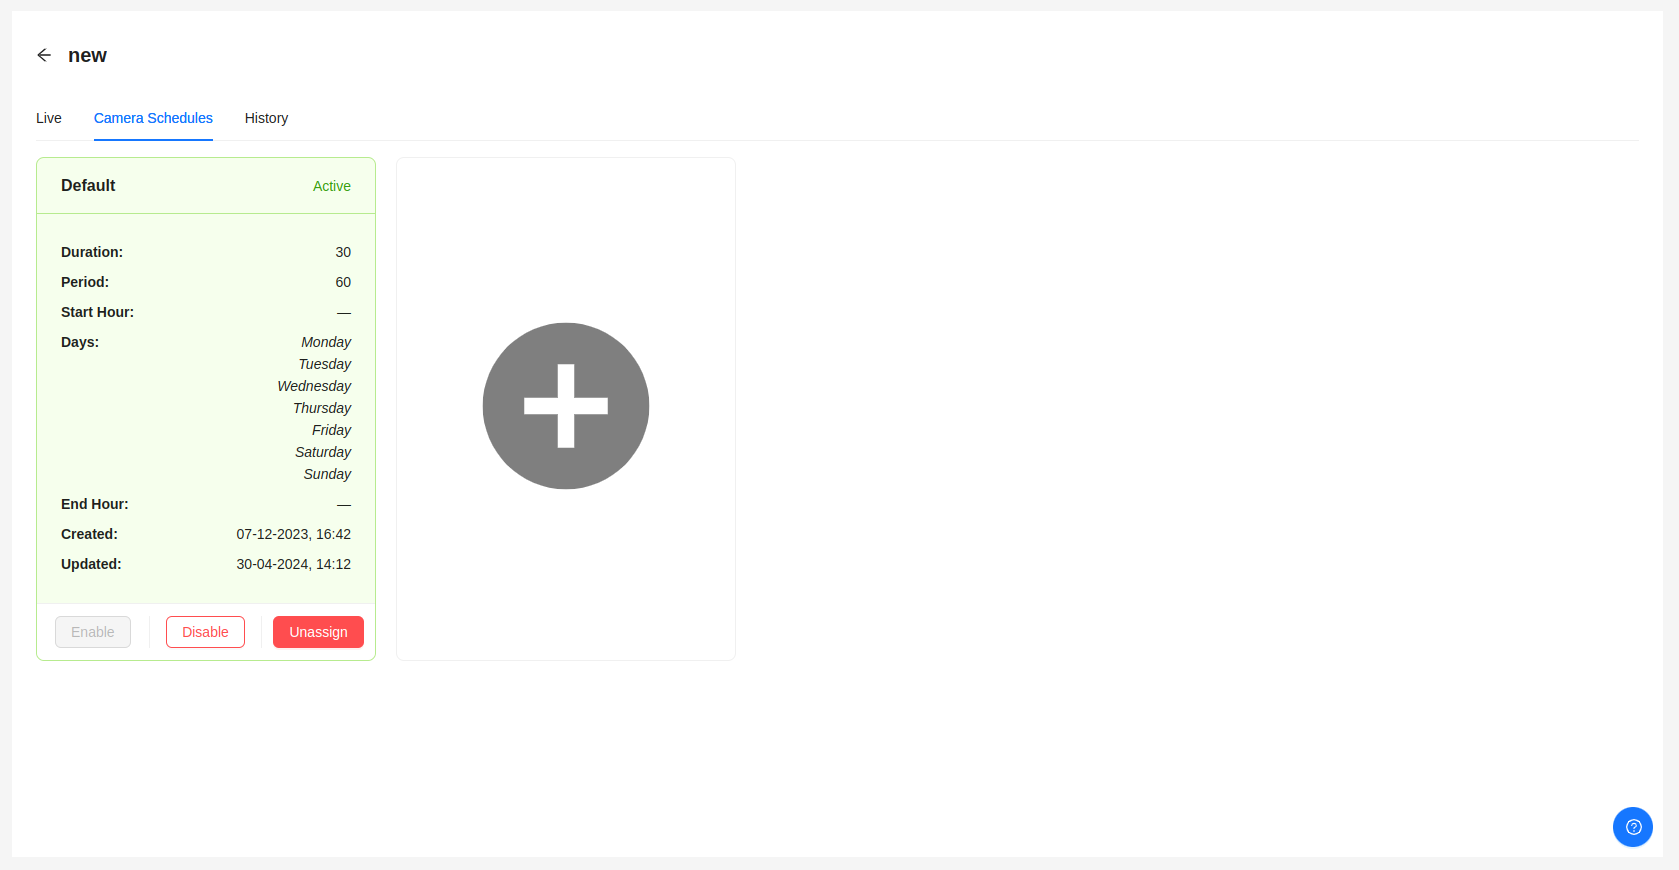
- The
Enablebutton switches the schedule to active status. - The
Disablebutton switches the schedule to inactive status. - The
Unassignbutton removes the schedule from the current camera.
To add a new schedule for the camera, click on an empty card with the + sign.
After that, a window with a table will open, to select a schedule from those available for this camera.
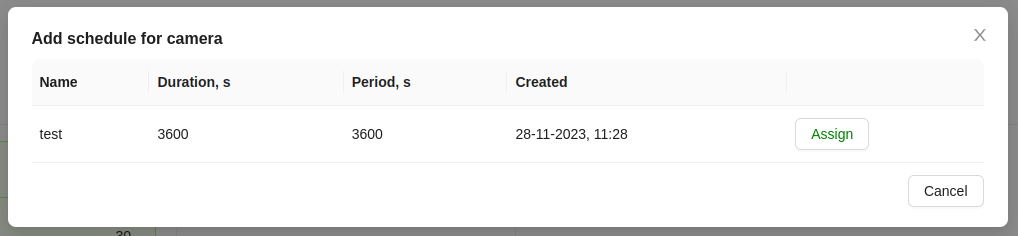
Click the Assign button for the schedule you need.
If there are no available schedules, the table will be empty.
For more detailed information about schedules, their creation, and management, you can refer to the Schedules section.
History
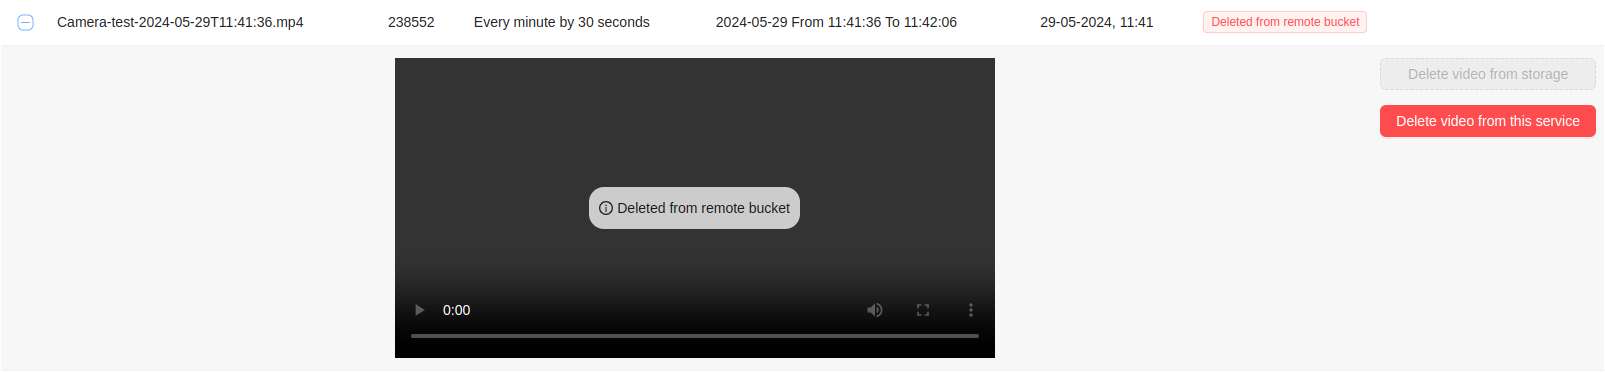
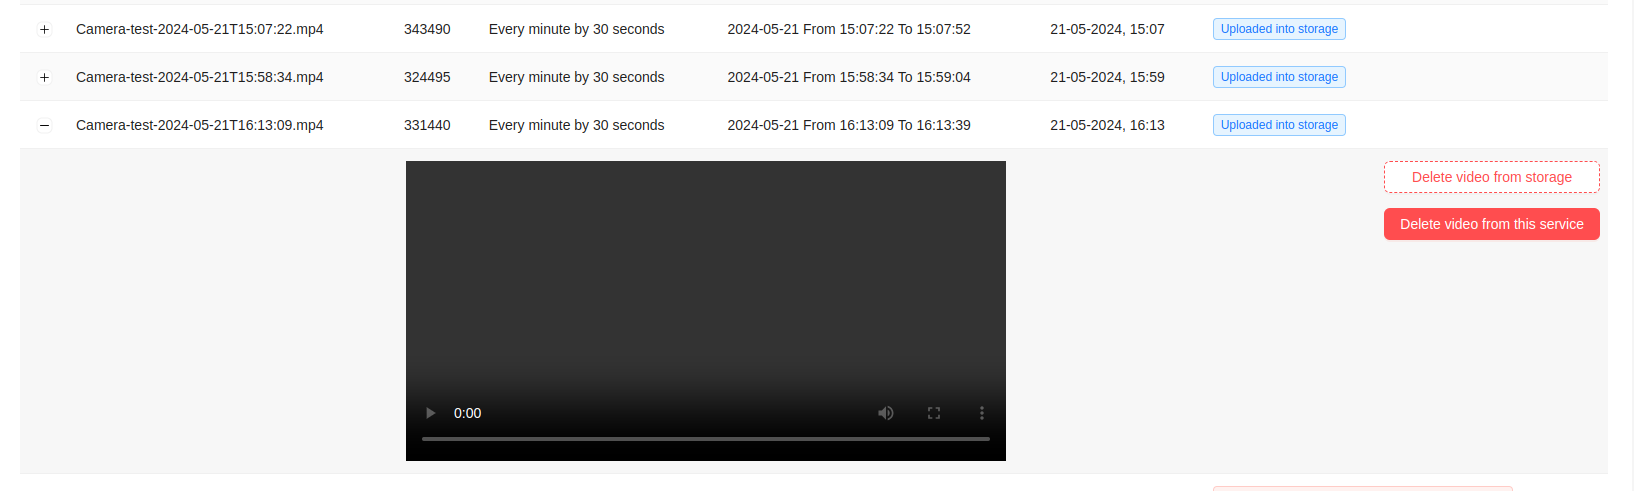
Here the user is provided with information about the stored videos with information about the size of the video files, the period for which they were created, and their current status. The user can also view saved video files if they have not been deleted.

To view a list of saved videos, you must specify the desired time period.

To view a saved video file, just open the line with the desired entry and start watching it in the video player. The user can view video files that have statuses that do not contain errors.
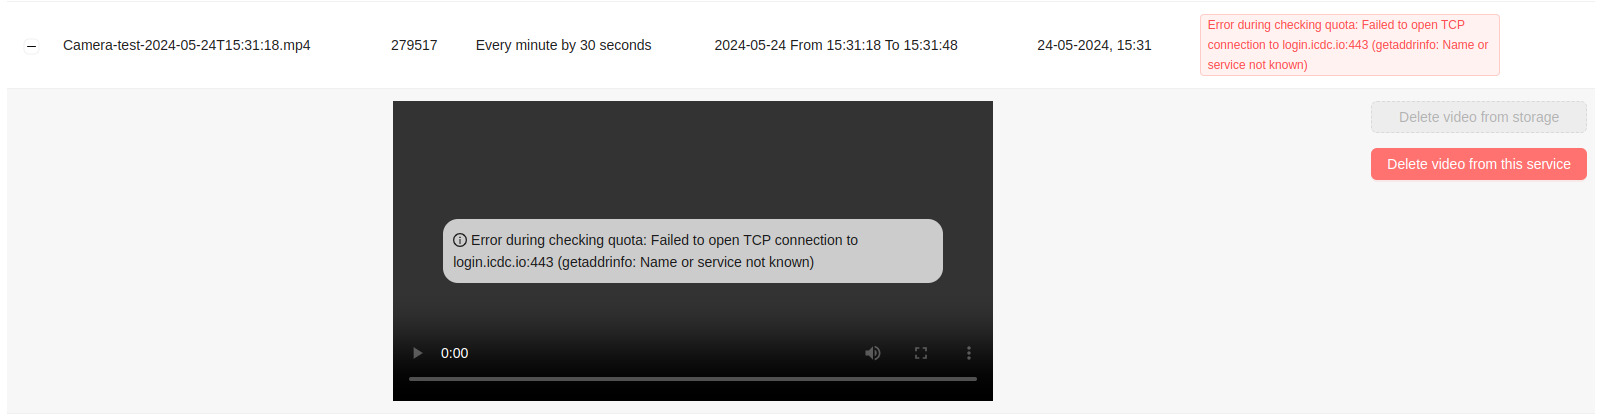
If for some reason the video file cannot be played, the user will see a duplicate status in the video player.
Also, in the video file viewing window, the user has access to two deletion buttons - Delete video from storage and Delete video from this service.
Delete video from storage- deletes a video file from storage, while a record of it remains available for playing.Delete video from this service- deletes a video file from the storage, as well as a record about it.
If a video is deleted from storage, it cannot be played and the user will see the corresponding status.