Schedules
The system allows configuring schedules for video cameras.
Interface
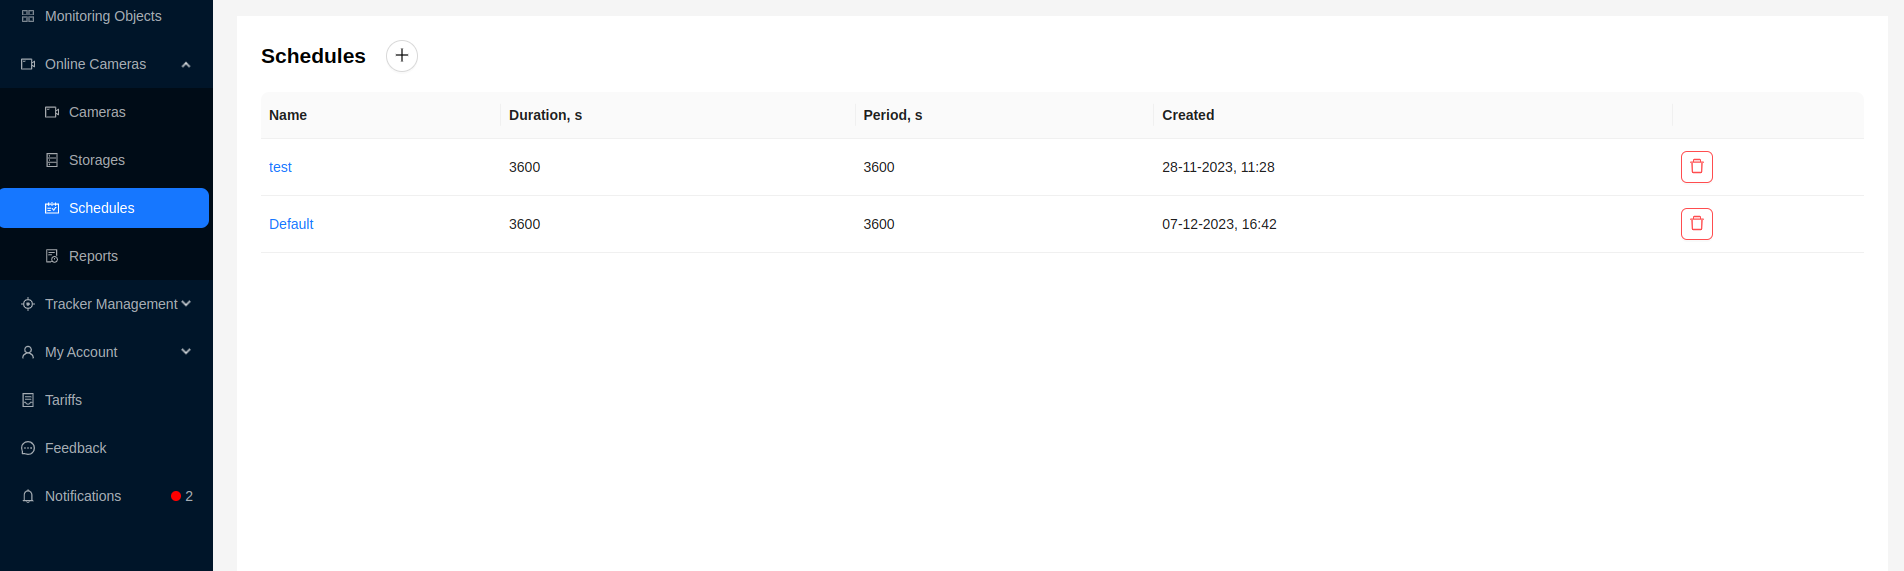
The main table displays the following data for schedules:
- Name
- Duration in seconds
- Period in seconds
- Creation date
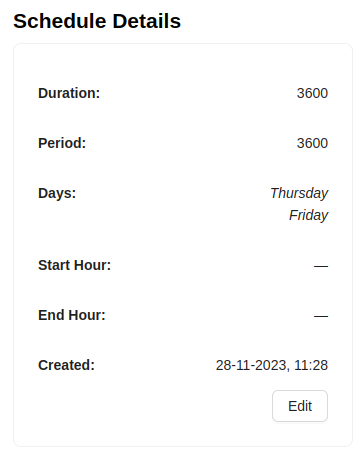
Detailed Information about Schedule
Clicking on the schedule name in the general list takes the user to the detailed camera information page.
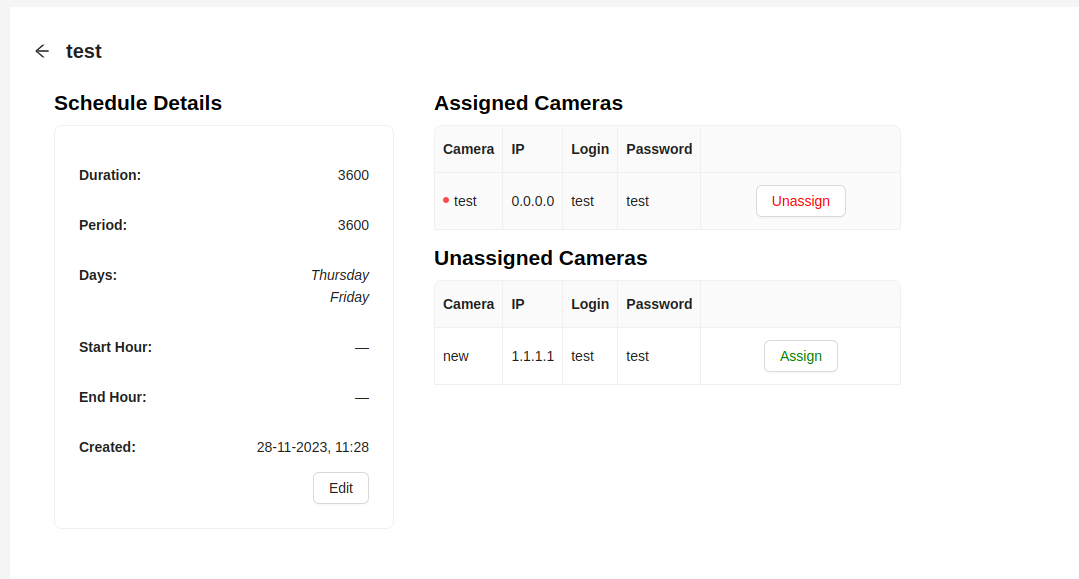
In the Schedule Details block, detailed information about the schedule is displayed. To the right of it, there is information about the cameras in the form of two tables:
- Assigned Cameras - video cameras to which the current schedule is attached. Next to the camera name is an indicator in the form of a dot. A green dot indicates that the schedule is currently being used by the camera, while a red dot indicates that the schedule is attached to the camera but is not currently being used.

To detach the schedule, click the Unassign button.
- Unassigned Cameras - video cameras available for attaching to the current schedule. Attaching the schedule is done by clicking the
Assignbutton.
Creating a Schedule
-
To add a new schedule, click the button at the top of the Schedules page.

-
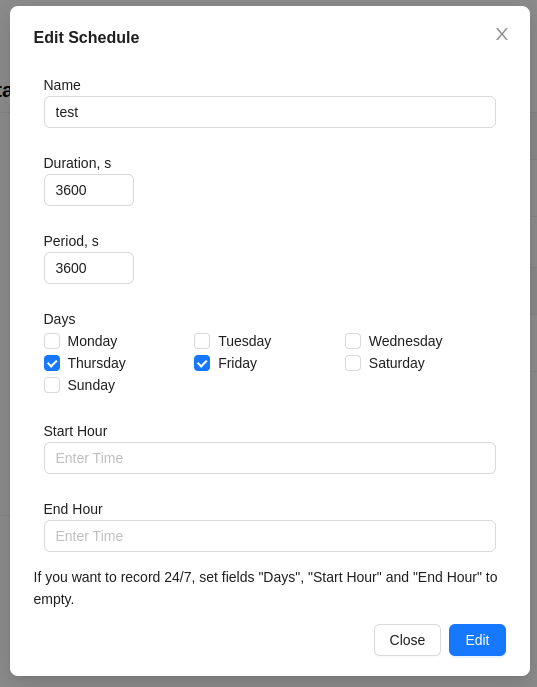
Fill out the form that appears:
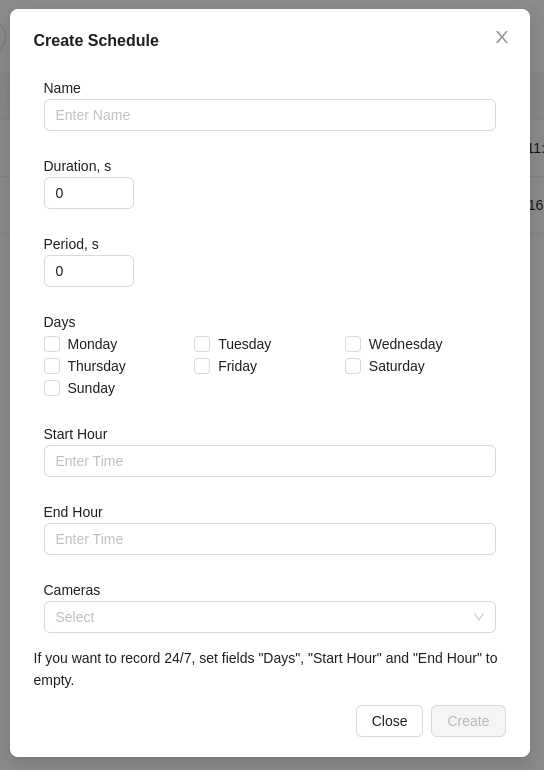
- Name - the name of the schedule
- Duration, sec - the time interval in seconds during which the camera will not capture images.
- Period, sec - the time interval in seconds during which the camera will operate.
- Days - for selecting the days of the week on which the camera will operate.
- Start hour - the start time of the camera operation.
- End hour - the end time of the camera operation.
- Cameras - a dropdown list to select cameras that will operate according to the new schedule.
tip
Setting the Duration and Period fields to a value of 3600 will make the camera capture continuously.
- Click the
Createbutton. If the data is entered correctly, the newly created schedule will appear in the list.
Editing a Schedule
- To edit a schedule, click the
Editbutton on its page.
- The form with schedule data will appear.
- After making changes, click the
Editbutton to save them.
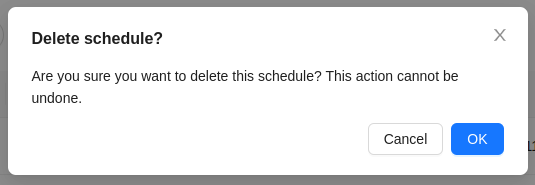
Deleting a Schedule
- To delete a schedule, click the red trash icon button.

- Confirm the deletion by clicking the
Okbutton: